Your shopping cart is empty!
DIY Glass Splashbacks
Let's get started.
Our DIY Glass Splashbacks go against traditional installation methods which involve having the glass painted prior to installation and gluing the splashback into place (usually by a professional). Our splashbacks are clear, removable and front pin fixed, making them perfect for easy DIY installation.
We have 3 standard size splashbacks available or can supply to your requirements. Please email your drawing to sales@diyglass.com.au including your dimensions/drawing, details of what you are fixing it to and your post code for a delivery quote.
Why Clear?
A clear glass splashbacks means you can choose your own backing behind it. You're in control of what is behind the glass. You can paint behind it using any colour of your choice (and change it as often as you like), use wall paper, use the kids artworks, show exposed brick, use a print or art work you have created or purchased, paint a mural, used recycled timber (or make your own aged timber). You can basically use anything you like as long as it is flat.
Why Removable?
Not like traditional glass splashbacks, our splashbacks can be easily removed. This is great if you want to change the colour or background design.
Why pin fixed?
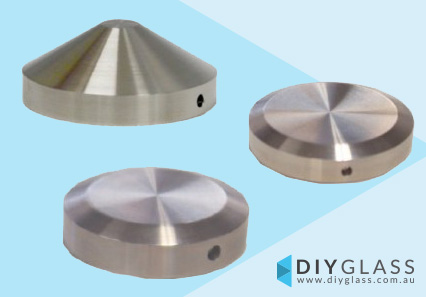
We have chosen to use a pin fixing system as it makes the Glass Splashback so easy to install. You do not need to use any glue or silicon so no messy clean-up or skills required. With a little pre-planning, a DIY Glass Splashback can be one of the easiest projects you have completed.
Installation process
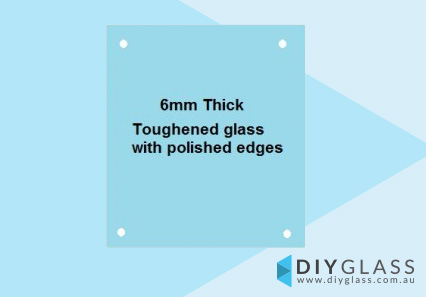
If installing onto a timber stud wall, you will need to make sure there is timber behind the fixing screws. If installing into brick, you will need to install a threaded rod using a chemical anchoring system. Our standard panels have holes that are 70mm across and in from each order. If ordering a custom panel, we can drill the holes to your requirements. We recommend pin spacing of no more than 900mm apart along the top and bottom edges.


